Pixel basics · lesson 1 of 8 · Beginner · about 5 min
UV: where am I?
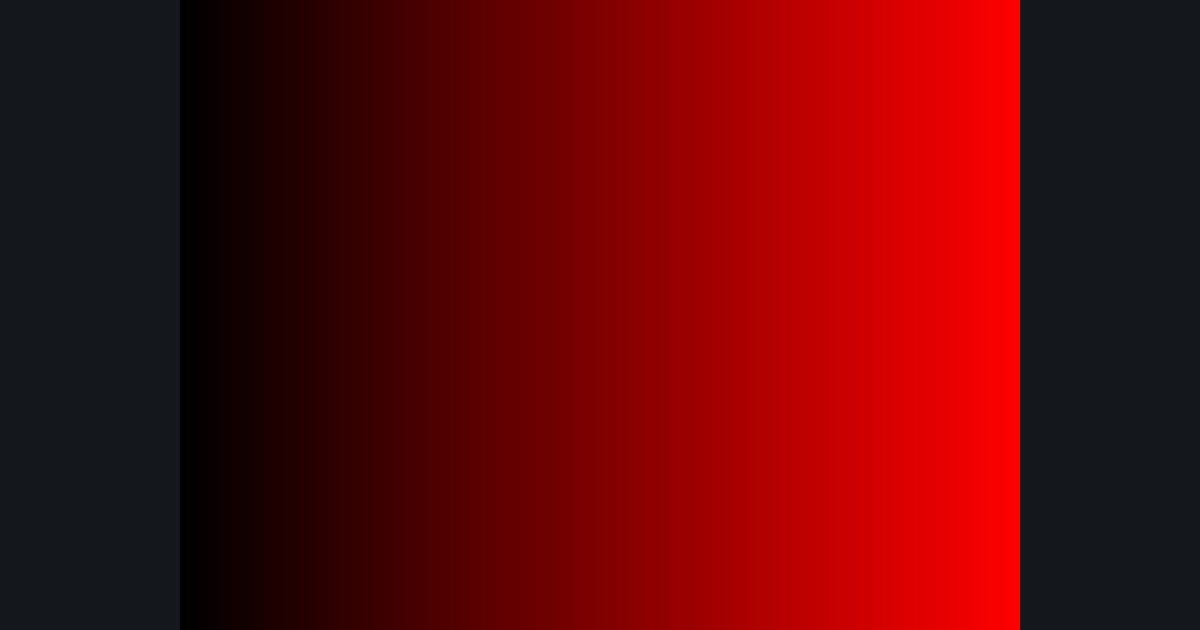
You will build: Make a gradient: black on the left, full red on the right.
So far every pixel returned the same color, which is boring. To make pixels differ, the function needs to know which pixel it is. That's uv:
uv.xgoes 0 → 1, left to right.uv.ygoes 0 → 1, bottom to top (same as Unity's mesh UVs).
It's normalized (0..1) on purpose: the same shader looks identical whether the image is 8×6 or 4000×3000. That's why the Resolution slider doesn't change the picture, only how finely it's sampled.
Now use it: put uv.x into the red channel and the redness will grow from left to right. Hover the output and watch uv change from pixel to pixel.
Try it in your own language
The lesson is written once and shown in every language. Pick yours: Unity (Built-in), Unity (URP), Unreal, Shadertoy / WebGL, OpenGL (LWJGL, raylib), three.js, GameMaker, LÖVE (Lua), Godot, Apple (iOS, macOS), WebGPU / Bevy.
Start codingGo deeper
Concept explainers with a live example: UV coordinates.
Part of the learning path: From zero to ray marching.