Pixel basics · lesson 4 of 8 · Beginner · about 5 min
step() and lerp()
You will build: Split the screen down the middle: color A on the left, color B on the right.
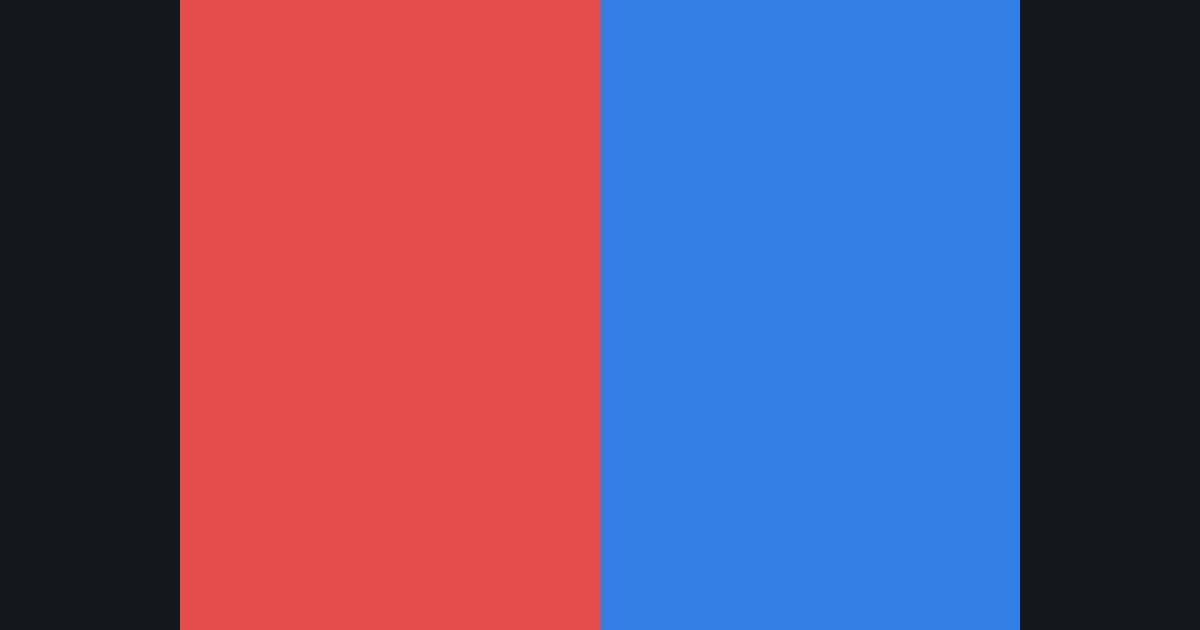
Two tools you'll use in every shader:
step(edge, x)returns 0 ifx < edge, otherwise 1. A hard on/off switch.lerp(a, b, t)(=mixin GLSL) blends:awhen t=0,bwhen t=1, in between for the rest. It works on floats and vectors, so it blends colors.
Put them together and you get “if x is past the edge, use color B, else color A” without an if:
float3 colorA = float3(0.9, 0.3, 0.3);
float3 colorB = float3(0.2, 0.5, 0.9);
float t = step(0.5, uv.x);        // 0 on the left half, 1 on the right
float3 col = lerp(colorA, colorB, t);
Why avoid if? GPU cores run in lockstep groups, so branches can make neighbours wait for each other. Plain math is the idiomatic, fast way. (Branching isn't illegal — just not the first tool to reach for.)
The numbers you need
Everything the picture depends on is given, so the challenge is the code, not guessing.
- A
float3(0.9, 0.3, 0.3)- B
float3(0.2, 0.5, 0.9)
Try it in your own language
The lesson is written once and shown in every language. Pick yours: Unity (Built-in), Unity (URP), Unreal, Shadertoy / WebGL, OpenGL (LWJGL, raylib), three.js, GameMaker, LÖVE (Lua), Godot, Apple (iOS, macOS), WebGPU / Bevy.
Start codingGo deeper
Concept explainers with a live example: smoothstep.
Part of the learning path: From zero to ray marching.