Noise · lesson 3 of 6 · Intermediate · about 5 min
Smooth randomness, step 2: soften the corners
You will build: Draw the plain blend as a red curve and the softened blend as a green curve in the same picture.
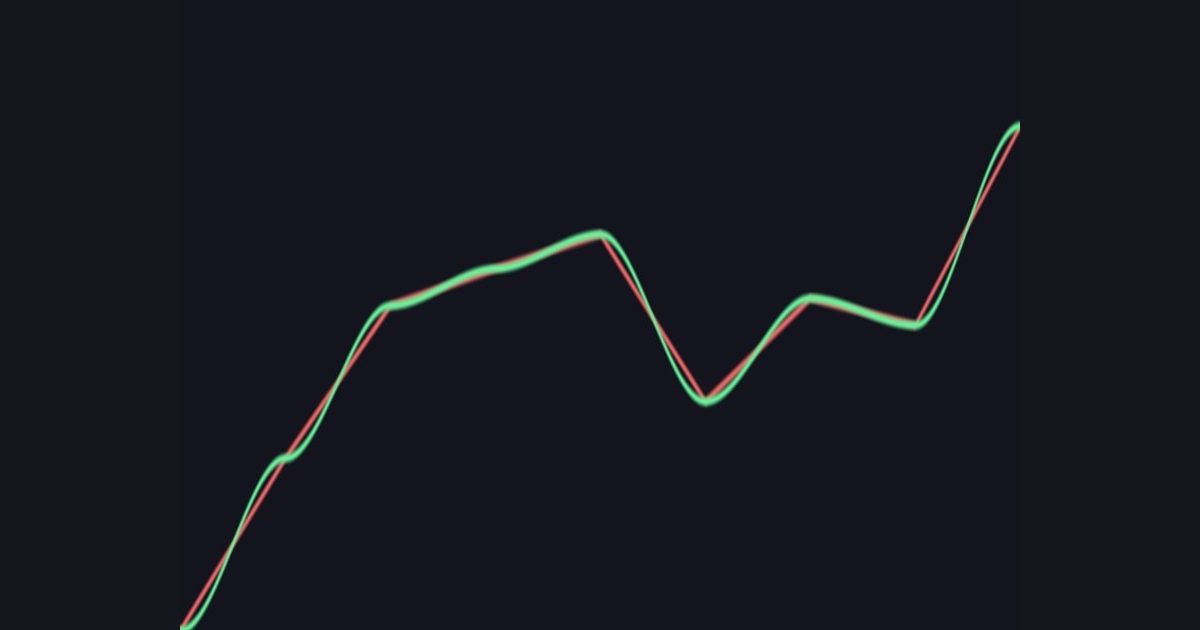
Look at the curve from the last step: it has sharp corners where one cell ends and the next begins. Real noise should be soft there. The fix is to reshape f before blending:
float soft = f * f * (3.0 - 2.0 * f); // slow at 0 and 1, quick in the middle
It is the same curve as smoothstep uses inside. Near f = 0 and f = 1 it moves very slowly, so the curve arrives flat at each random value and leaves flat. No more corners.
Below you draw both curves on one graph so you can see the difference: the straight blend in red, the softened blend in green.
The numbers you need
Everything the picture depends on is given, so the challenge is the code, not guessing.
- Setup
same as the last step: x = uv.x * 8.0, i, f, a, b- Plain blend
lerp(a, b, f)- Soft blend
lerp(a, b, f * f * (3.0 - 2.0 * f))- Plot each
1.0 - smoothstep(0.0, 0.012, abs(uv.y - value))- Colors
red float3(0.95, 0.4, 0.4), green float3(0.4, 0.95, 0.6), background float3(0.08, 0.08, 0.12)
Try it in your own language
The lesson is written once and shown in every language. Pick yours: Unity (Built-in), Unity (URP), Unreal, Shadertoy / WebGL, OpenGL (LWJGL, raylib), three.js, GameMaker, LÖVE (Lua), Godot, Apple (iOS, macOS), WebGPU / Bevy.
Start codingGo deeper
Concept explainers with a live example: value noise.
Part of the learning path: Noise and procedural textures.